HOW TO DO AN AT-HOME GEL MANICURE
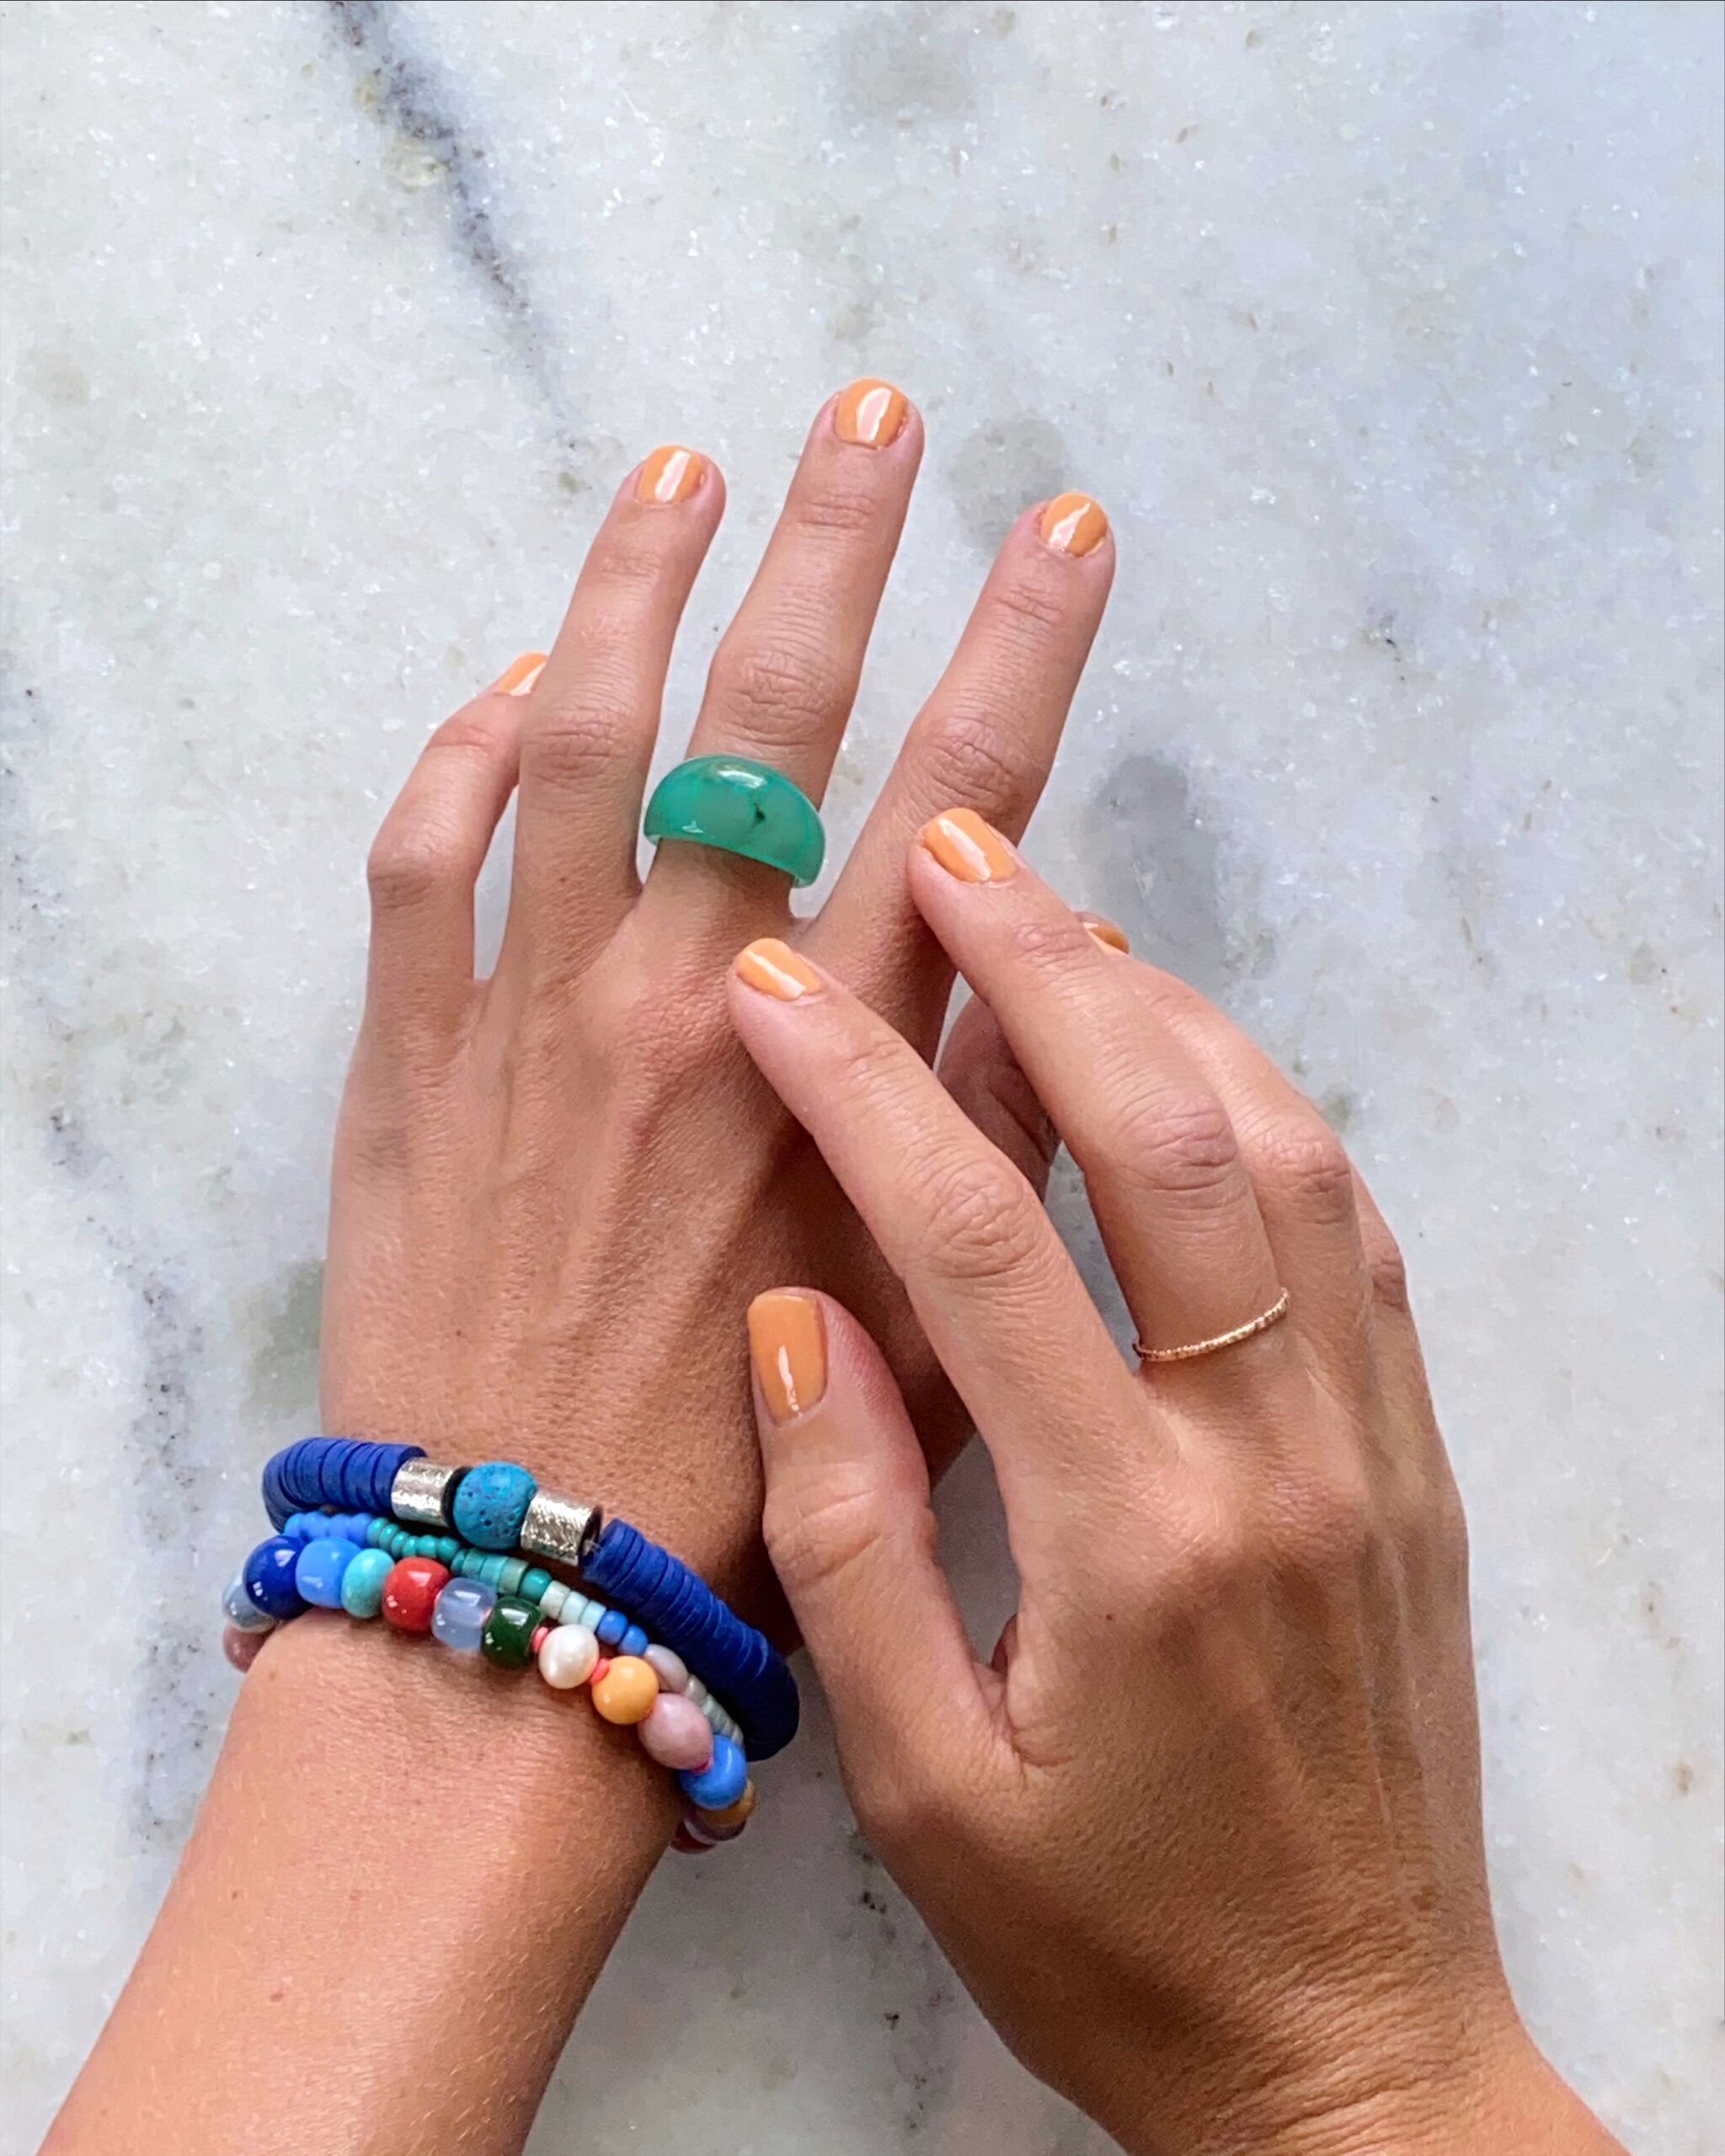
A few months ago, I ordered an at-home gel manicure kit to save money and time by giving myself my own gel manicures. Once you get the hang of it (there’s a learning curve for everything), I can whip out a professional looking manicure in less than 20 minutes. Below are the steps and products I use, as well as a sped up Reels of me giving myself a manicure. I’ve been really into this 6-pack of bright fun colors for summer!
Click here to see everything I use and know that if you buy the kit, it comes with everything you need for prep and painting.
STEPS FOR AN AT-HOME GEL MANICURE
- The most important step is prepping your nails! Here is what I do:
- Remove an old polish. I love this remover – apply, let sit for 5-10 minutes and peel off the gel.
- Cut and file down my nails
- Soak and cut or push down the cuticles
- Buff the nail bed for a smooth surface
- Wash my hands and scrub my nails with a brush to avoid any dust
- Apply clear base coat and cure under the UV light for 30 seconds.
- Apply color coat and cure under the UV light for 60 seconds. Repeat so you have 2-3 color coats.
- Apply top coat and cure under the UV light for 30 seconds.
- File down the tips to avoid chipping.
TIPS FOR AN AT-HOME GEL MANICURE
- I like to complete one hand at a time.
- It’s so important to use a light, steady hand to apply thin layers of each coat. The thicker the polish, the greater chance it will chip.
- To make your manicure last longer, avoid washing your hands or picking at your cuticles.